
RAID Data Recovery: Technician Triage, Image Drives in the First Hour
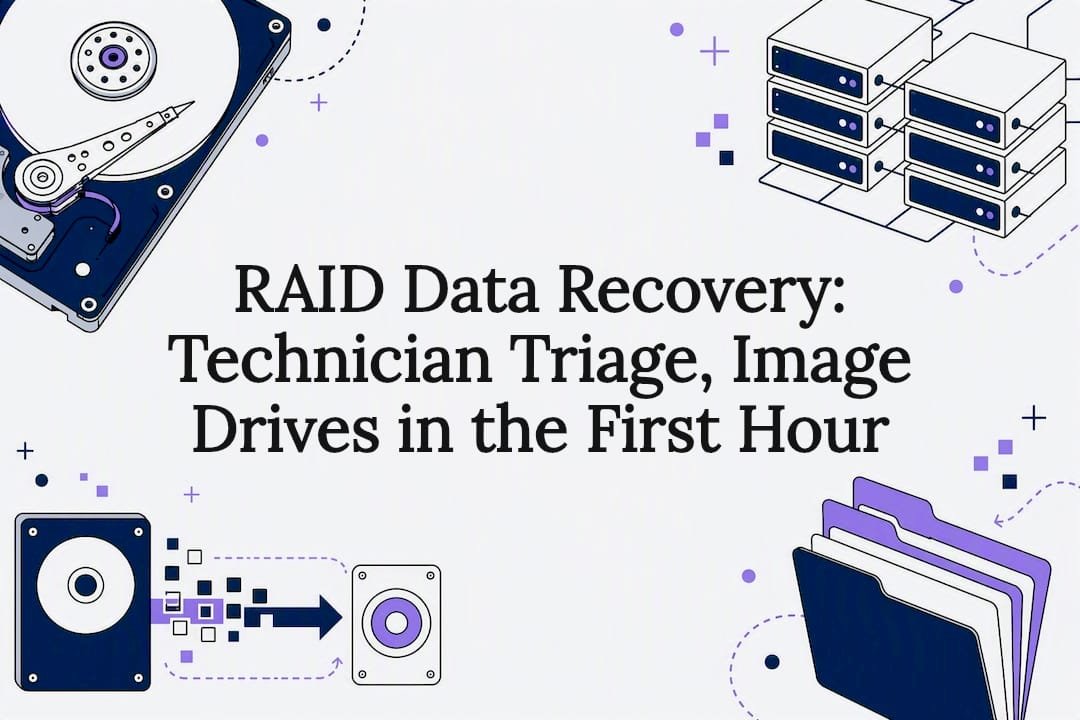
Yes, RAID data can usually be recovered, but the outcome depends entirely on what caused the failure and what you do next. The moment you suspect a problem, power off the array and stop any automatic rebuild in its tracks. From there, clone every member drive and work only from those images, either with reputable recovery software or a professional lab, never on the originals.
Key takeaways
- Cloning all drives sector by sector before attempting recovery is essential to prevent further data loss, especially if drives show physical or logical failure signs.
- Recovery software can often rebuild standard RAID configurations automatically but struggles with proprietary formats, encrypted volumes, or heavily damaged drives, requiring professional intervention.
- Signs of RAID failure include multiple drives with errors, clicking noises, or degraded array status, with multi-drive failures needing urgent professional attention.
- DIY attempts like running rebuilds or filesystem checks can cause irreversible damage, increasing recovery costs and complexity, especially after failed rebuilds or physical damage.
- RAID is designed for uptime, not protection; maintaining regular secondary backups and proactive disk health monitoring significantly reduces recovery needs.
Table of Contents
- What is RAID data recovery and how does it differ from single-drive recovery?
- What are the warning signs of a failing RAID array?
- What should you do first when a RAID array fails?
- How does software RAID recovery actually work?
- When should you call a professional RAID recovery service?
- How much does RAID recovery cost and how long does it take?
- How do you prevent needing RAID recovery again?
- What we see most often, and what actually helps
- Getting your RAID array recovered properly
- Sources
- FAQ
What is RAID data recovery and how does it differ from single-drive recovery?
RAID data recovery means rebuilding a functioning virtual array from its individual member drives so the files stored across them become readable again. It is a fundamentally different job to recovering a single hard drive. A standalone disk holds a complete filesystem. A RAID array spreads data across two or more drives in stripes, sometimes with parity information woven in for redundancy, so no single drive holds a complete, readable copy of anything.
That's why the workflow always follows the same four stages: diagnose the failure, image every drive sector by sector, virtually reconstruct the array from those images, then extract the files. Skip a step, particularly the imaging step, and you risk turning a recoverable job into a permanent loss.
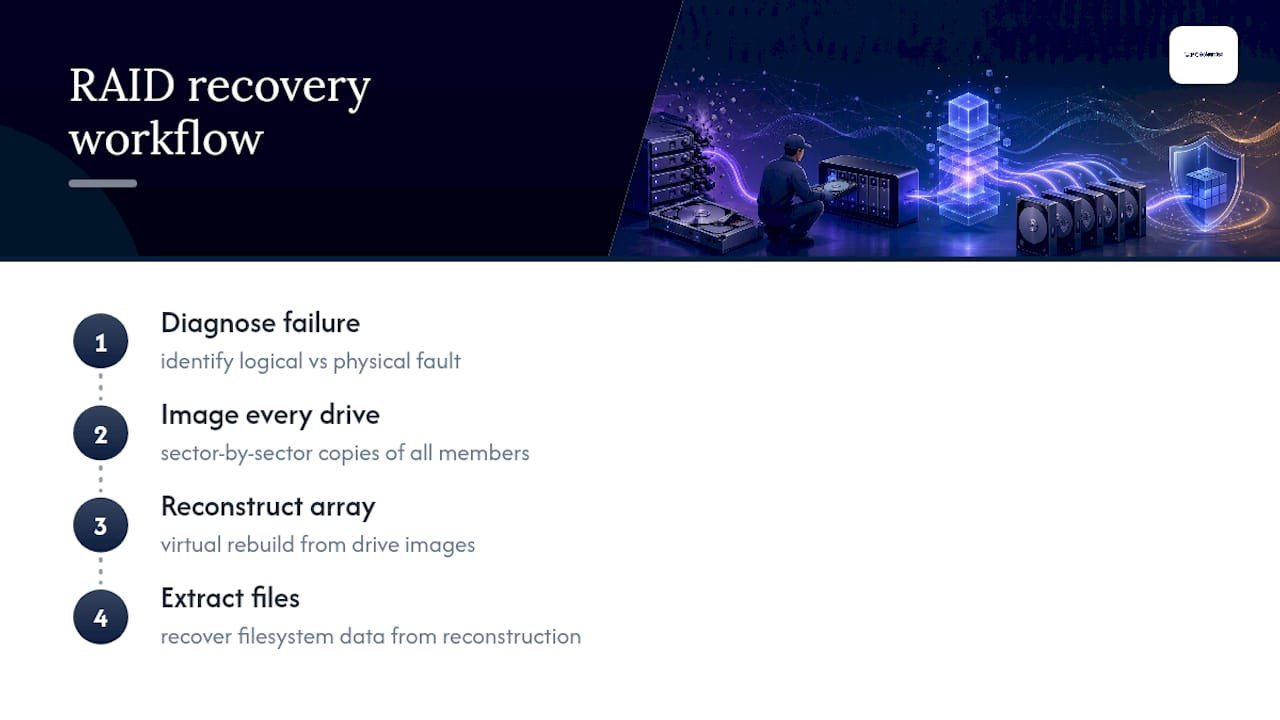
The failure itself usually falls into one of two camps. A logical failure means the drives are mechanically sound but the array's structure, metadata, or filesystem has been corrupted, perhaps by a botched rebuild or a controller fault. A physical failure means one or more drives themselves are dying, clicking, or already dead. Software-based recovery often works well for logical failures, reconstructing the array virtually and pulling files straight from disk images.
None of this changes one hard truth: RAID gives you uptime, not protection. It keeps a server running when a drive fails. It does nothing to stop deletion, ransomware, or a firmware bug from wiping every drive in the array simultaneously.
What are the warning signs of a failing RAID array?
Not every RAID failure looks the same, and the pattern of symptoms tells you a lot about urgency and recoverability.
A degraded single-disk event is the mildest scenario. One drive has dropped out, the array is running on reduced redundancy, and you generally have time to plan a careful response. A multiple-disk failure is far more serious. Two or more drives failing close together, common in RAID 5 arrays built from drives bought at the same time, can take the entire array offline with no redundancy left to fall back on. A controller or NAS firmware failure is trickier still, because the drives themselves might be perfectly healthy while the metadata describing the array configuration has vanished or corrupted.
Watch for these signals before things get worse:
- SMART warnings or reallocated sector counts climbing on any drive
- Clicking, grinding, or repetitive spin-up noises
- The array showing "degraded" status in your controller or NAS dashboard
- Repeated entries in system or controller event logs referencing read errors
- A rebuild that stalls, restarts, or reports errors partway through
A single degraded drive with clean SMART data on the rest is a low-stress fix. Multiple drives throwing errors simultaneously is a five-alarm situation that calls for extreme caution and, often, a professional straight away.
What should you do first when a RAID array fails?
This is the part where the next ten minutes matter more than anything else you'll do in the whole recovery process.
Do this, in order:
- Power off the array immediately. Don't let it sit there attempting an automatic rebuild while you research the problem online.
- Photograph or write down the physical drive order, bay positions, and cable connections before you touch anything.
- Record the RAID level, controller model or NAS make and model, and firmware version. You'll need this later whether you're using software or calling a lab.
- Create a sector-by-sector clone of every member drive before you attempt anything else. Work exclusively from those clones from this point forward.
- If a drive has unreadable sectors, log them rather than repeatedly hammering the drive trying to force a read.
Don't do any of these, no matter how tempting it feels:
- Don't let the controller force a rebuild. An uncontrolled rebuild is the single most destructive action you can take, and it's very hard to undo.
- Don't run chkdsk or fsck on the original drives. Run repair tools only on a reconstructed, read-only mount taken from your clones.
- Don't initialise, reformat, or reorder the drives.
- Don't swap in a spare drive hoping the controller sorts itself out.
For imaging, ddrescue is a well-regarded free tool built specifically for pulling data off failing media. It reads the healthy sectors first, keeps a log file of anything it couldn't read, and lets you go back for further passes targeting only the problem areas rather than re-scanning the whole drive each time.
Pro Tip: Always image to a separate, healthy drive with more free space than the total size of the drive you're cloning. Running out of space mid-clone on a failing disk is one of the more avoidable ways people turn a bad day into a catastrophic one.
How does software RAID recovery actually work?
Recovery software works by analysing your disk images to figure out three things: the order the drives sat in, the stripe or block size used, and the parity rotation pattern for arrays like RAID 5 or RAID 6. Get those three details right and the software can rebuild a virtual version of the array without touching a single original sector. Modern tools can often auto-detect these parameters on standard configurations, though proprietary NAS implementations sometimes need manual input or vendor-specific handling.
Most reputable tools work in two stages, and the distinction matters:
- Preview mode mounts the reconstructed array read-only and shows you a file tree, so you can confirm the reconstruction parameters are correct before committing to anything.
- Full extraction copies the recovered files out to a separate healthy drive, which is the only stage that actually gets your data back.
Software has real limits worth knowing before you sink hours into it. It can't repair unreadable sectors on a mechanically failing drive. It can't decrypt an encrypted volume without the key. And it often struggles with proprietary metadata used by certain NAS vendors that don't follow standard RAID conventions.
If you're working from clean, complete images and a straightforward logical failure, trying a reputable tool is a reasonable first step. If preview mode shows scrambled file names, missing folders, or won't mount at all after a couple of attempts with different parameters, that's your signal to stop rather than keep guessing.
When should you call a professional RAID recovery service?
Some situations are not DIY territory, and pretending otherwise usually makes things worse, not better.
Call a lab straight away if you're seeing any of these:
- A drive making clicking, grinding, or repetitive seek noises
- Multiple drives failed or failing at the same time
- A rebuild that's already started and failed partway through
- Physical damage from fire, flood, or a drop
- An encrypted volume where the keys are missing or unknown
Professional labs follow a controlled version of the same triage principles, just with better equipment. They perform hardware-level imaging using specialised imagers before any reconstruction work begins, which lets them coax data off drives that are too damaged for consumer tools to read safely. From there, the array is virtually reconstructed from the clones, and if a drive has failed mechanically, clean-room repairs happen before any imaging is even attempted.
A proper quote should tell you the diagnostic cost upfront, whether that fee applies toward the final job, an estimated success likelihood once diagnostics are done, and a clear no-data-no-charge policy for the recovery attempt itself.
If you're in NSW and staring down a failed array right now, PC Scientist's NAS data recovery guide walks through the escalation path in more detail, including when a NAS-specific approach differs from a standard server RAID.
How much does RAID recovery cost and how long does it take?
Costs scale steeply with complexity. Professional NAS and RAID recovery in Australia typically starts around $500 for straightforward logical failures, and climbs into the thousands for multi-drive failures or cases involving physical damage. What pushes the price up is fairly predictable: more affected drives, mechanical damage requiring clean-room work, proprietary NAS formats that need vendor-specific handling, and encrypted volumes.
Timelines follow the same logic. A clean logical recovery on accessible drives might be done in a few days. A multi-drive physical case with mechanical repairs can run one to three weeks or longer, particularly if parts need sourcing for an obsolete drive model.
The money-saving instinct to try everything yourself first is understandable, but it can backfire. A failed DIY rebuild attempt or a chkdsk run on originals can turn a $500 logical job into a $3,000 physical recovery, because now the lab is repairing damage you caused on top of the original problem.
How do you prevent needing RAID recovery again?
RAID protects uptime. It is not a backup, and treating it as one is the single most common mistake that leads people back into this situation. Keep independent, offsite or external backups and test your restores regularly, because a backup you've never restored from is really just a hope.
A few habits go a long way:
- Monitor SMART data and set up automated alerts so a failing drive gets flagged before it takes the rest of the array with it.
- Keep a spare drive on hand if your array supports hot-swapping.
- Avoid mixing drives of different ages or batches in the same array, since they tend to fail in clusters.
- For large-capacity drives, 8 TB and above increases the risk of unrecoverable read errors during a rebuild, so RAID 6 or a solid backup routine matters more as drives get bigger.
- Keep controller and NAS firmware current, and read release notes before updating anything mid-crisis.
A monthly SMART check and a quarterly test restore takes less time than most people spend arguing with a failed rebuild.
What we see most often, and what actually helps
The mistakes we encounter most aren't dramatic. They're small, avoidable decisions made under pressure: forcing a rebuild because the dashboard offered a "fix" button, or running a filesystem check on the original array because it seemed like the obvious next move. Acting fast in the first hour, powering down and imaging before touching anything else, preserves options that panic destroys.
You can safely attempt cloning and try recovery software on those images yourself. The moment a drive starts making noise, multiple drives fail together, or the array won't reconstruct cleanly, that's the line where DIY should stop and a proper diagnostic should start.
- PC Scientist
Getting your RAID array recovered properly
A data recovery service exists for exactly the moment this article has been building toward: when the array won't come back and you need someone who does this properly, not as a side gig.

We start every job with a genuine diagnostic on your cloned drives, never your originals, so nothing you own is put at further risk while we work out what's actually gone wrong. You'll get a clear picture of what's recoverable, what it'll cost, and roughly how long it'll take, before any recovery work begins. For arrays with proprietary NAS formats or drives showing physical symptoms, we bring in the imaging and clean-room capability that consumer software simply can't match.
If your array has failed, stopped rebuilding, or is throwing errors you don't want to gamble on, get in touch through our Data Recovery Scientist page and we'll talk you through the fastest safe path back to your files. If you're not sure which service you need, our main site will point you in the right direction.
Sources
For deeper technical detail on cloning, see ddrescue's practical walkthrough, and for building a bootable rescue environment, this bootable USB guide is a solid starting point. PC Scientist's IT guides cover related prevention topics.
- RAID data recovery: what is it and how it works - DiskInternals
- RAID data recovery - DataHelp (complete guide)
- Dev
Recommended
- NAS data recovery: practical steps and when to call a pro
- Case Studies | Real IT Support, Website and Network Outcomes
Frequently Asked Questions
Straight answers about RAID Data Recovery: Technician Triage, Image Drives in the First Hour - without jargon or pressure. Call 0493 563 381 for advice, or get help below.
Want the quickest answer? 0493 563 381 for free advice.
Power off the array, clone every member drive sector by sector, then use recovery software or a professional lab to reconstruct the array virtually from those clones and extract the files.
It means rebuilding a working, readable version of your array from its individual drives, since data in RAID is striped across multiple disks and no single drive holds a complete copy.
There's no single best tool for every scenario, but reputable options that support virtual reconstruction and read-only previews are worth trying on disk images for logical failures; for physical damage or proprietary NAS formats, a professional service like PC Scientist's Data Recovery Scientist is the safer route.
In Australia, logical RAID recoveries typically start around $500, while complex multi-drive or physically damaged cases can run into the thousands depending on drive count and damage type.
Data recovery across NSW
Still stuck with RAID data recovery?
If files have gone missing, that is okay. Get data recovery help in your area and we will take it from here.
Start here
Get data recovery help
Optional Need a Sydney city or region?
Choose a side of Sydney
These are Sydney cities and regions, such as the Northern Beaches or Inner West. First tap a side of Sydney. Then open the city or region that covers you.
C Sydney City / Inner 3 areas
N Northern Sydney 6 areas
NW North-West / Central Sydney 3 areas
W Western Sydney 1 area
SW South-West Sydney 3 areas
S Southern Sydney 2 areas
Optional Find your suburb
Type a suburb from our listed coverage. This opens the matching city or region page for this topic. Listed suburb pages are general technology services, not this specialist page.
If your suburb is not listed, use the city or region list above, or call 0493 563 381.
Disclaimer
The information in this article is provided for general educational and informational purposes only. While PC Scientist strives to keep all content accurate and up to date, technology issues can vary depending on your device, software, network configuration, and individual circumstances. Always back up important data before attempting repairs or system changes. If you are unsure or the issue cannot be resolved safely, contact PC Scientist today for professional onsite or remote IT support. PC Scientist is not liable for any loss of data, damage, or other issues resulting from the use of the information provided in this article.